Apache APISIX 是 Apache 软件基金会下的云原生 API 网关,它兼具动态、实时、高性能等特点,提供了负载均衡、动态上游、灰度发布(金丝雀发布)、服务熔断、身份认证、可观测性等丰富的流量管理功能。
我们可以使用 Apache APISIX 来处理传统的南北向流量,也可以处理服务间的东西向流量。同时,它也支持作为 K8s Ingress Controller 来使用。
一、安装
1.1 安装APISIX
如果当前系统没有安装 OpenResty,请使用以下命令来安装 OpenResty 和 APISIX 仓库:
sudo yum install -y https://repos.apiseven.com/packages/centos/apache-apisix-repo-1.0-1.noarch.rpm
如果已安装 OpenResty 的官方 RPM 仓库,请使用以下命令安装 APISIX 的 RPM 仓库:
sudo yum-config-manager --add-repo https://repos.apiseven.com/packages/centos/apache-apisix.repo
完成上述操作后使用以下命令安装 APISIX:
sudo yum install apisix
你也可以安装指定版本的 APISIX(本示例为 APISIX v2.13.1 LTS 版本):
sudo yum install apisix-2.13.1
1.2 安装apisix-dashboard
sudo yum install -y https://github.com/apache/apisix-dashboard/releases/download/v2.13/apisix-dashboard-2.13-0.el7.x86_64.rpm
1.3 安装etcd
https://juejin.cn/post/7217053578711040057
二、修改配置
2.1 修改APISIX配置
APISIX 的默认配置可以在
./conf/config-default.yaml文件中看到,该文件与 APISIX 源码强绑定,请不要手动修改./conf/config-default.yaml文件。如果需要自定义任何配置,都应在./conf/config.yaml文件中完成。请不要手动修改 APISIX 安装目录下的
./conf/nginx.conf文件。当 APISIX 启动时,会根据config.yaml的配置自动生成新的nginx.conf并自动启动服务。
通过修改本地 /usr/local/apisix/conf/config.yaml 文件,或者在启动 APISIX 时使用 -c 或 --config 添加文件路径参数 apisix start -c <path string>,完成对 APISIX 服务本身的基本配置。
比如将 APISIX 默认监听端口修改为 8000,其他配置保持默认,在 /usr/local/apisix/conf/config.yaml 中只需这样配置:
apisix:
  node_listen: 8000 # APISIX listening port
比如指定 APISIX 默认监听端口为 8000,并且设置 etcd 地址,其他配置保持默认。在 /usr/local/apisix/conf/config.yaml 中只需这样配置:
apisix:
  node_listen: 8000 # APISIX listening port

deployment:
  role: traditional
  role_traditional:
    config_provider: etcd
  etcd:
    host:
      - "http://172.16.63.131:2379"
      - "http://172.16.63.132:2379"
      - "http://172.16.63.133:2379"
2.2 修改apisix-dashboard配置
配置文件默认路径为/usr/local/apisix/dashboard/conf/conf.yaml
	allow_list:             # If we don't set any IP list, then any IP access is allowed by default.
		#- 127.0.0.1           # 允许所有ip访问

                          # It also support CIDR like 192.168.1.0/24 and 2001:0db8::/32
  # 配置etcd
  etcd:
    endpoints:            # supports defining multiple etcd host addresses for an etcd cluster
      - 172.16.63.131:2379
      - 172.16.63.132:2379
      - 172.16.63.133:2379
三、启动服务
3.1 启动APISIX服务
APISIX 安装完成后,你可以运行以下命令初始化 NGINX 配置文件和 etcd:
apisix init
使用以下命令启动 APISIX:
apisix start
你可以运行
apisix help命令,通过查看返回结果,获取其他操作的命令及描述。
如果你是通过 RPM 包安装 APISIX,配置文件已经自动安装,你可以直接使用以下命令:
systemctl start apisix
systemctl stop apisix
如果你是通过其他方法安装的 APISIX,可以参考配置文件模板进行修改,并将其添加在 /usr/lib/systemd/system/apisix.service 路径下。
3.2 启动apisix-dashboard服务
sudo manager-api -p /usr/local/apisix/dashboard/

# 或者以服务运行
systemctl start apisix-dashboard
3.3 supervisord管理相关进程
[root@localhost supervisord]# cat /etc/supervisord.d/apisix.ini
[program:apisix]
command=systemctl start apisix

[root@localhost supervisord]# cat /etc/supervisord.d/apisix-dashboard.ini
[program:apisix-dashboard]
command=systemctl start apisix-dashboard
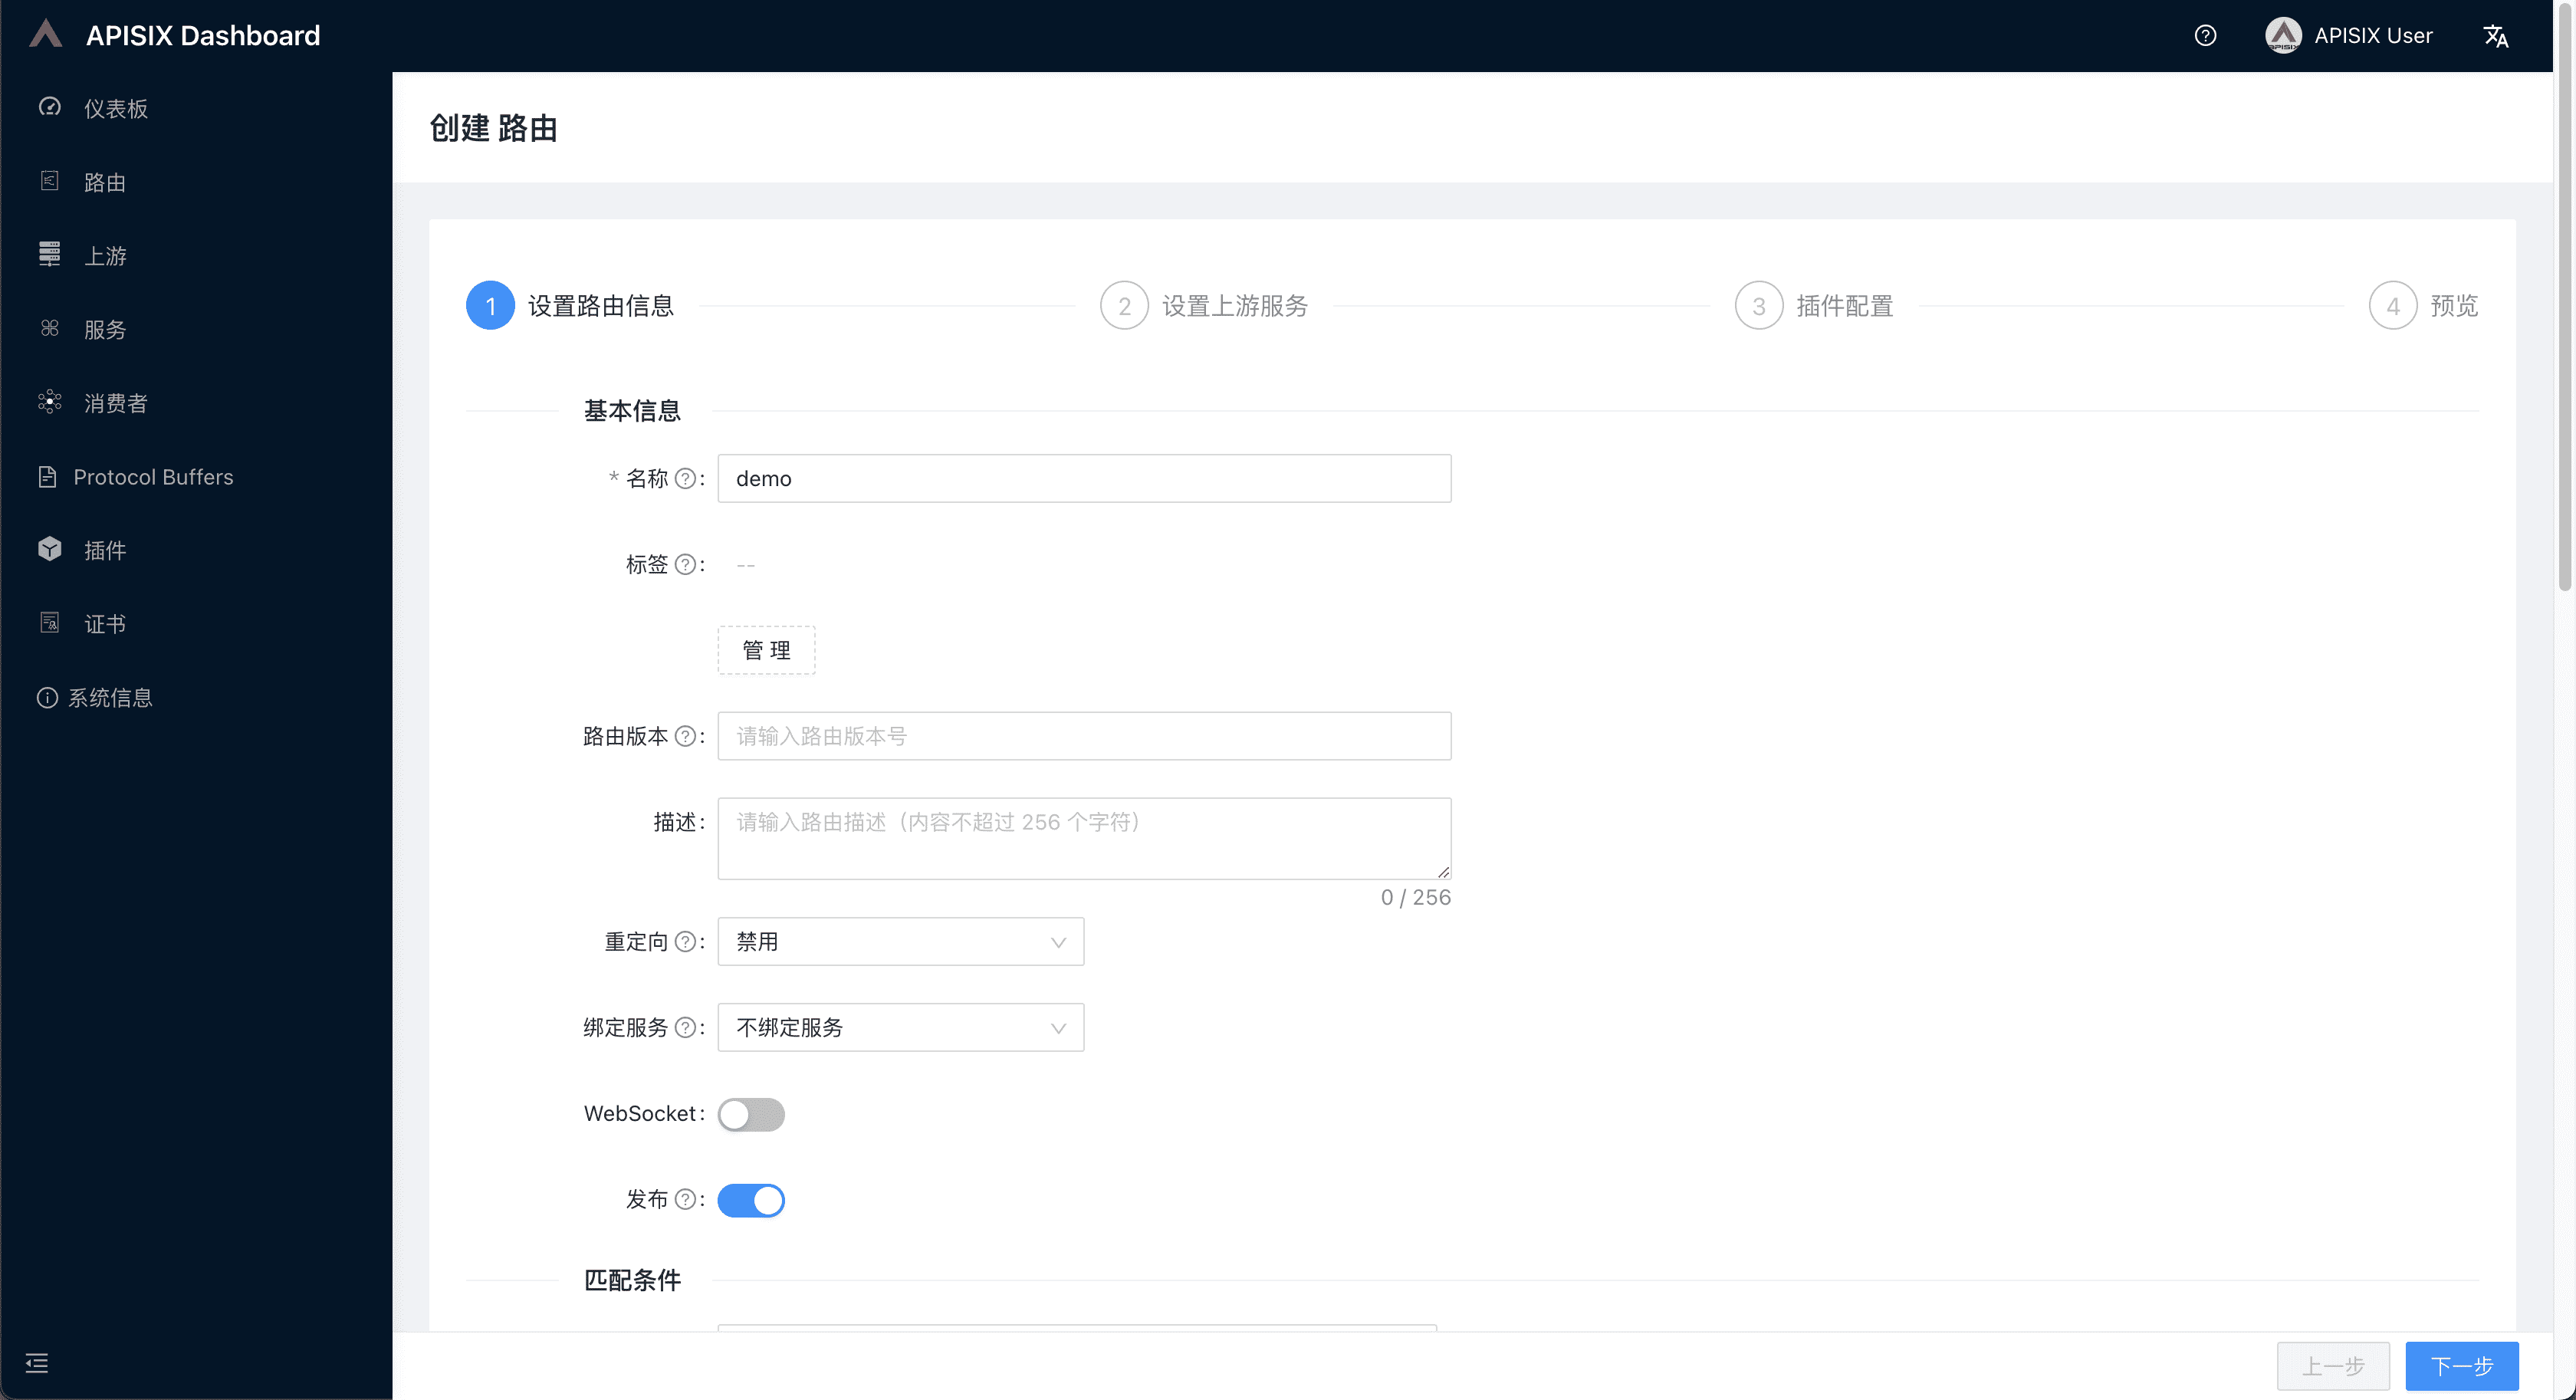
四、网关新增路由
后台管理界面api-dashboard端口默认为
:9000,账号密码默认为admin
五、访问网关配置路由
后台管理界面apisix端口默认为
:9080, 如当前示例已将端口设置为:8000
http://172.16.63.131:8000/anything/foo?arg=10
{
	"args": {
		"arg": "10"
	},
	"data": "",
	"files": {},
	"form": {},
	"headers": {
		"Accept": "text/html,application/xhtml+xml,application/xml;q=0.9,image/avif,image/webp,image/apng,*/*;q=0.8,application/signed-exchange;v=b3;q=0.7",
		"Accept-Encoding": "gzip, deflate",
		"Accept-Language": "zh-CN,zh;q=0.9,en;q=0.8",
		"Host": "172.16.63.131",
		"Upgrade-Insecure-Requests": "1",
		"User-Agent": "Mozilla/5.0 (Macintosh; Intel Mac OS X 10_15_7) AppleWebKit/537.36 (KHTML, like Gecko) Chrome/111.0.0.0 Safari/537.36",
		"X-Amzn-Trace-Id": "Root=1-64297d93-27c7dc195ca76af57c83f9fb",
		"X-Forwarded-Host": "172.16.63.131"
	},
	"json": null,
	"method": "GET",
	"origin": "172.16.63.1, 114.253.193.20",
	"url": "http://172.16.63.131/anything/foo?arg=10"
}
六、参考
https://apisix.apache.org/zh/docs/apisix/installation-guide/
